Opposite Windsor Airport Terminal: 3245 County Rd 42, WINDSOR Showroom Spring Hours: Monday to Friday 7:00am to 5:00pm
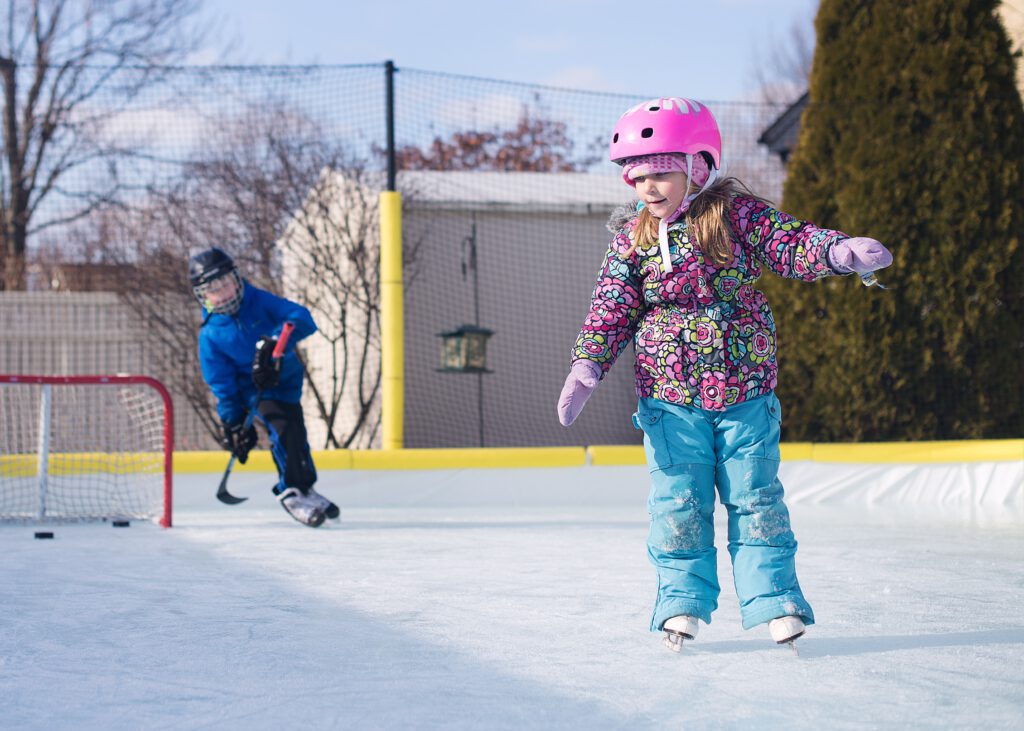
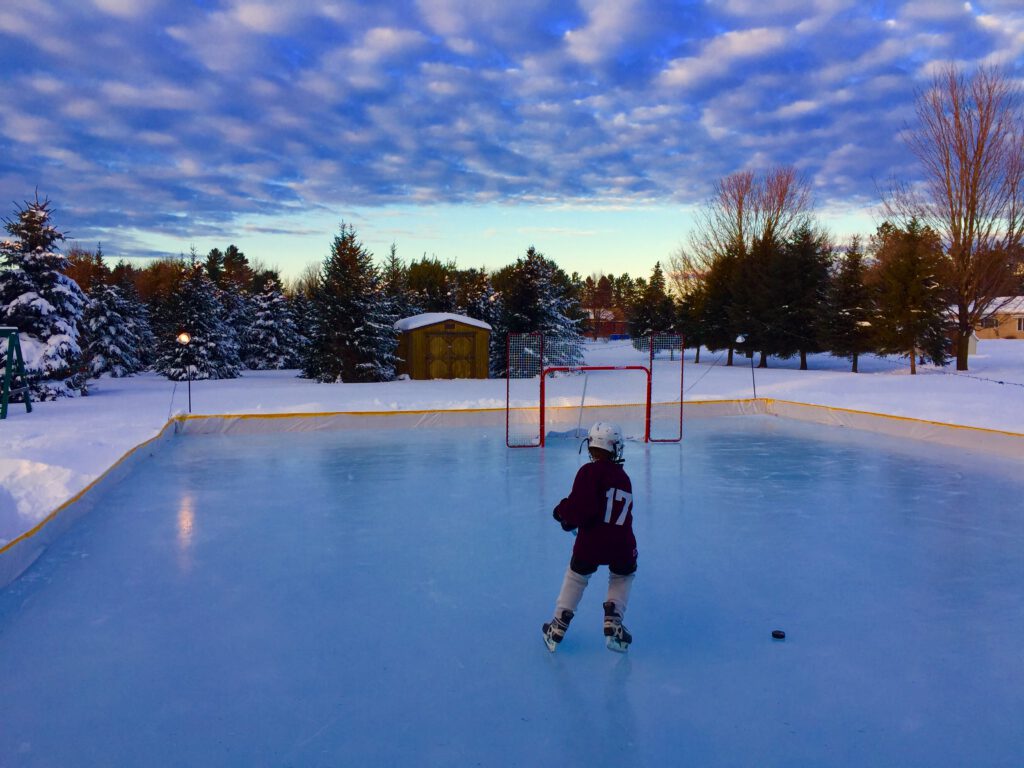
CREATE YOUR VERY OWN BACKYARD ICE RINK!
Winter was made for skating. With NiceRink's unique outdoor ice rink products and accessories, you can transform your backyard into a sheet of ice that’s yours to carve.
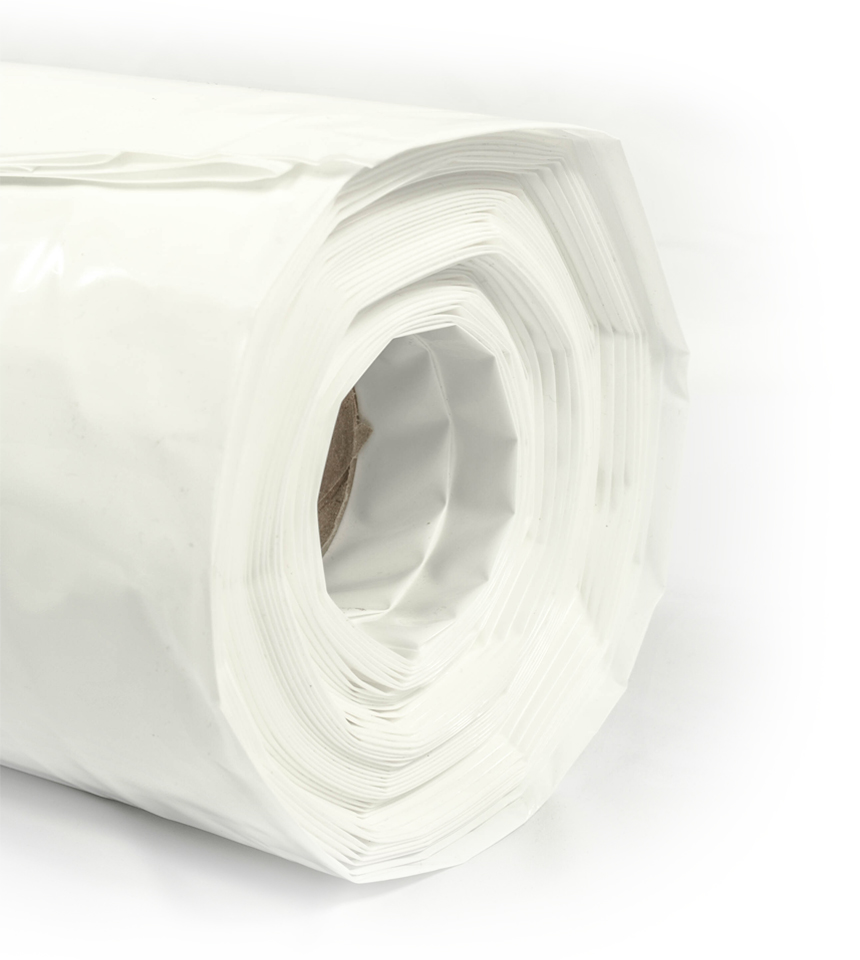
NiceRink® liners are ultra-white on BOTH sides! This helps keep your ice as cold as possible by reflecting the UV rays away from your ice. A white liner will also save your grass (unlike clear or white/black liners, or "blue tarps" which are known grass killers!). Other liners on the market may include a five-year "UV warranty." That's fine, but UV damage is not going to be the problem since the liners are covered with snow and ice during usage, so the UV doesn't affect the liner. You need a good strong liner to do the work. NiceRink® CS liners have lab tested on average OVER 50% STRONGER than imitators, yet selling for the same cost.
TIPS FOR FIRST-TIMERS
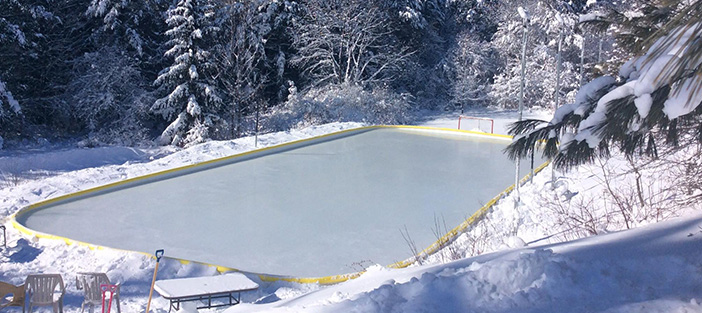
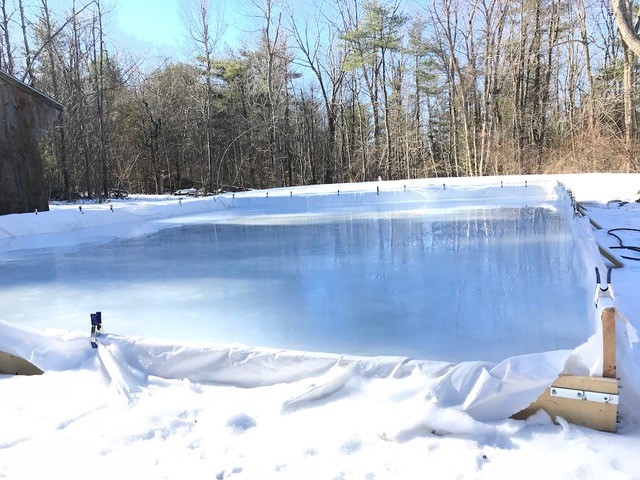
BEFORE you purchase or install your NiceRink® ice rink, here are the four most important points you need to consider first: size, access to water, convenience, and the slope of your backyard.
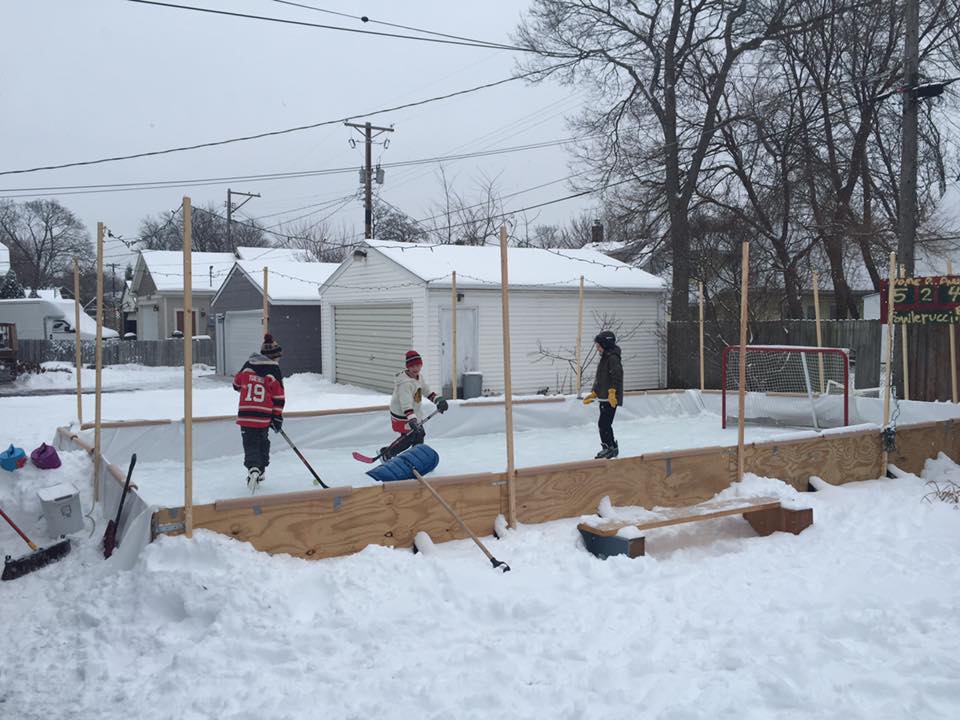
1. Size of your rink
Your rink size depends on several factors. The first factor is your available space. If you have the space and budget, go big. You’ll enjoy your rink much more when you have more room, especially when you have skating parties (which we can assure you, you will) and everybody will have plenty of room to skate around without bumping into each other. If you’re not sure if you’ll use your rink enough to make it worth your while, start smaller. You can always decide to go bigger in a year or two, and continue to use the boards and equipment that you’ve already purchased. Besides space and budget, also consider the people who will be using the rink. If it’s just younger children, you can go smaller and be very satisfied as they don’t need a huge rink to make it feel huge to them. On the other hand, if you’re an experienced skater yourself, you’ll be able to cover a 30-foot span rather easily in one stride, which doesn’t end up being much fun for you. The choice is entirely up to you, the “rink manager,” but we can tell you we’ve heard time after time, “I sure wish we would’ve gone bigger!”
2. Access to water
When choosing the location of your rink, make sure it’s near an easily accessible water source. This will make it much easier when it’s time to flood and resurface your rink. The farther away the water is, the farther you’ll have to haul your hose. When it’s 10℉ outside, you’ll be glad you don’t have to haul out 300 feet of hose every time you want to resurface. It’s nice to be able to set your hose outside the house, hook it up, and resurface. Two good items to have available are either a quality hose reel or large plastic bucket (muck bucket or garbage can). When you’re done resurfacing you’ll need to bring your hose back inside so it doesn’t freeze solid. When the hose is brought inside, it will have some water left in it. If you have a hose reel, most of the water will be dispersed while winding it up. If you use a hose bucket, the water that may drain out will be nicely contained within your container leaving no mess.
3. Convenience of use
When determining where to locate your rink, make it as convenient as possible. You want the rink to be close enough to enjoy without having to trudge through snow to get to it; but, you also want it far enough away from stray pucks that might leave the ice anytime hockey is being played. (Ideally, you will position the rink to run parallel to the house to avoid pucks being shot directly toward the house.) Out the door and on the ice is best, but you have to consider windows, doors opening, and views. My rink is about 20 feet from the house, and we can see everywhere on the rink from any facing window, which is nice when you can just let the children out to skate and easily watch the activity while warmly conversing inside with friends and neighbors. If the kids get cold, they can easily hop out and back in again. You also won’t have to shovel a very long path to the rink.
4. Slope
VERY IMPORTANT: Check the slope, or levelness, of your rink site. The slope is important if you a) want a nice, clean-looking rink, and b) don’t want to end up filling your rink with 30,000 gallons of water. A site that has a slope of six inches or less is best. A 6-inch slope would give you four inches of water/ice on your shallow/high side and 10 inches at the deep/low end. (Some of our clients have up to 30 inches of water on their deep end, but that takes special instruction and is recommended only for colder climates.) The lesser the slope, the less effort it will take to assemble the rink. You will also use less water, resulting in less time to get your base ice going. (PLEASE NOTE: 99% of backyards are not entirely flat; a yard that is flat will not have proper drainage away from the house and probably shouldn’t have water added onto it because it may cause flooding problems in the spring.)
Our Liners.
NiceRink® liners are ultra-white on BOTH sides! This helps keep your ice as cold as possible by reflecting the UV rays away from your ice. A white liner will also save your grass (unlike clear or white/black liners, or “blue tarps” which are known grass killers!). Other liners on the market may include a five-year “UV warranty.” That’s fine, but UV damage is not going to be the problem since the liners are covered with snow and ice during usage, so the UV doesn’t affect the liner. You need a good strong liner to do the work. Here’s an example of a NiceRink Liner vs. Inferior “Look-A-Like” (we also recommend adding KickPlates, which will extend the life of your liner). Our liners are warranted to hold the water when you get it.